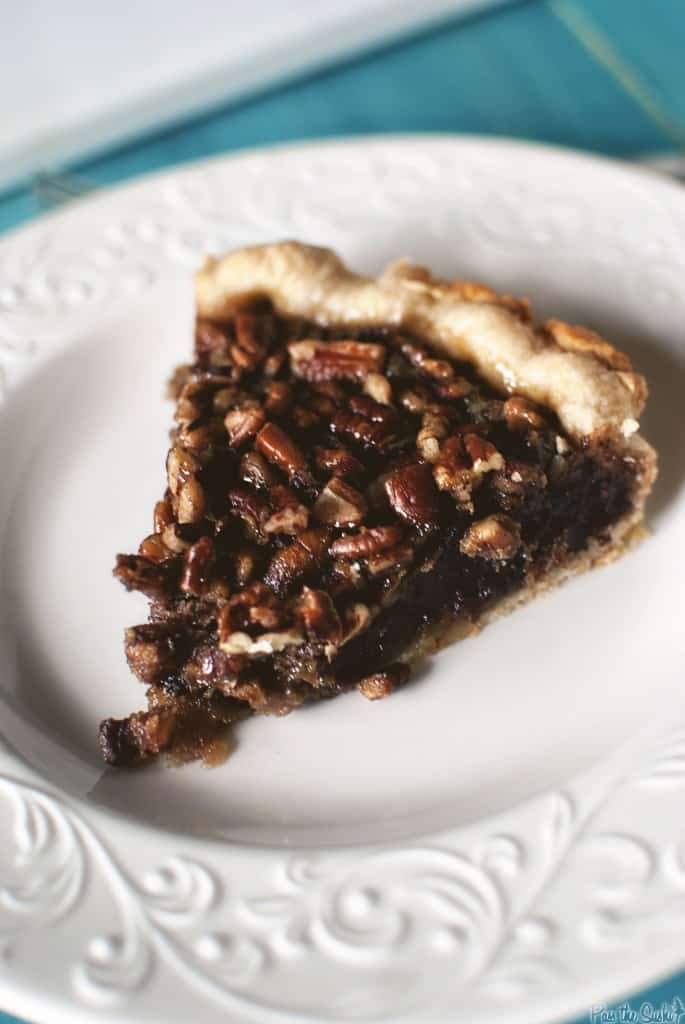
Pie Month. It came. It went. And I’m terribly sad to see it go. I took on pie month as a challenge to myself to conquer pie dough. And conquer I did.
There was a double crust with shortening
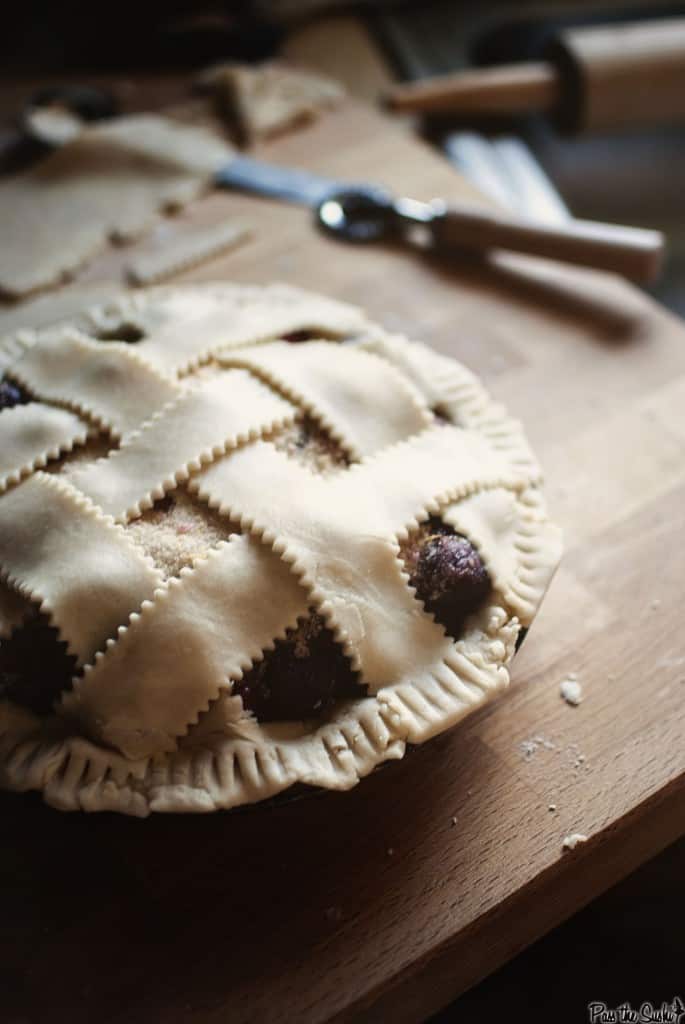
A traditional dough, replacing the water with vodka for a flaky crust.
One from the pros at Cook’s Illustrated, with a touch of cinnamon, rolled in graham cracker crumbs.
A quick puff pastry that makes me believe I may never need store bought again.
And finally today’s simple tart recipe that was flaky, butter, and hands down my favorite of the bunch. This one will be my go to pie crust from now on.
I didn’t think I would enjoy 5 pies. But looking back, I’m totally glad I took on the challenge and won’t ever hesitate to throw a pie together again. It’s not as complicated as it looks. There really isn’t much to do wrong.
[print_this]
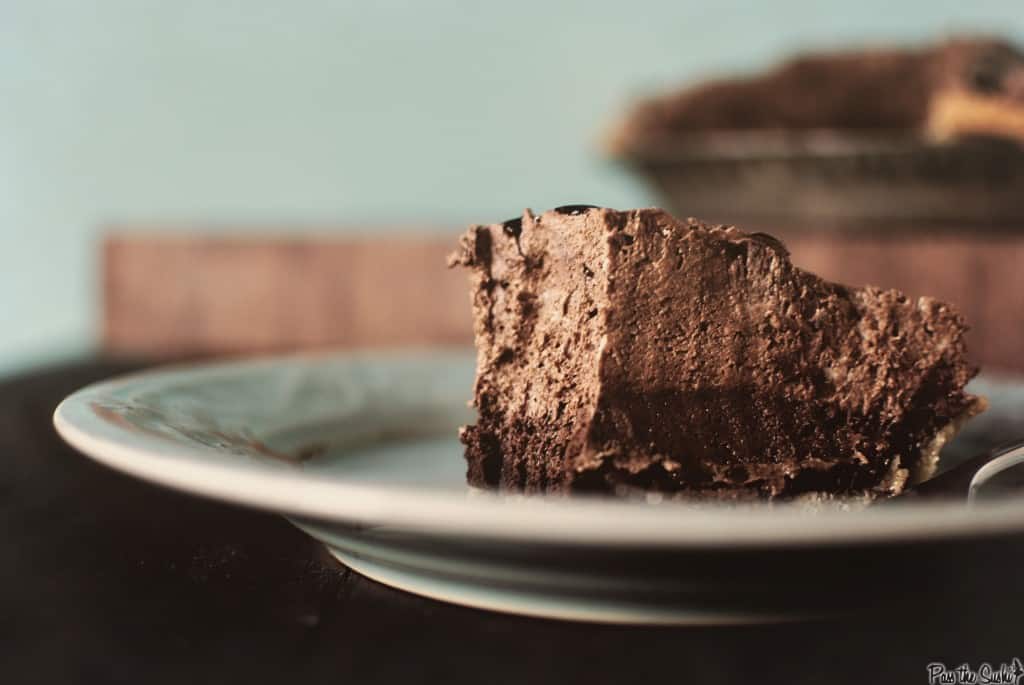
Triple Layer Chocolate Mousse Pie
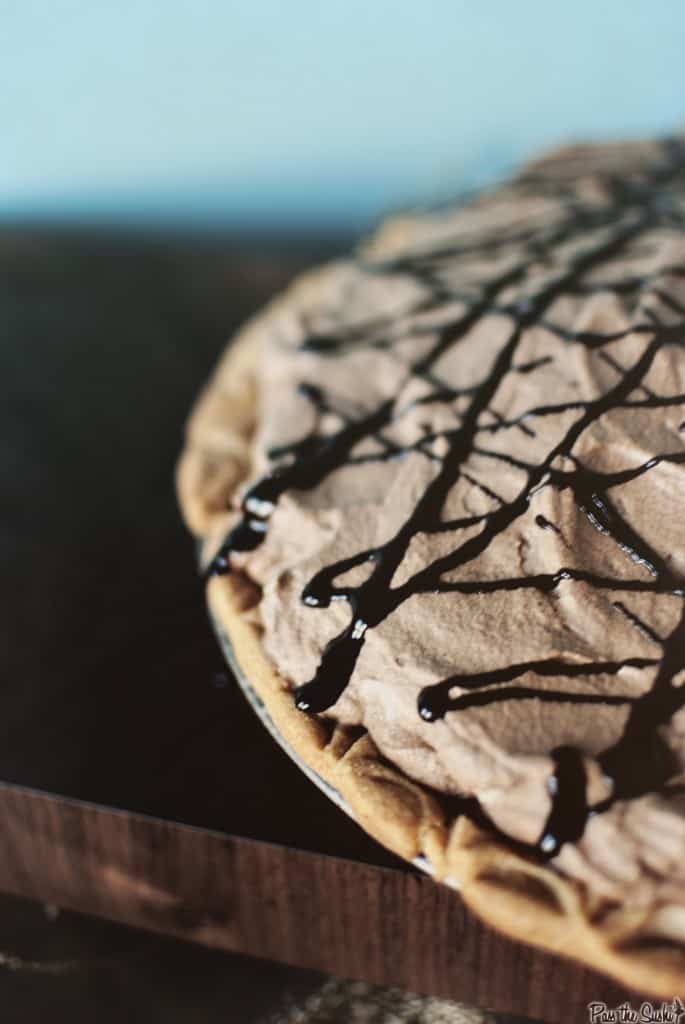 from Pie it Forward
Ingredients:
- 1/2 batch Simple Tart Dough
For the Ganache:
- 1/4 cup heavy cream
- 2 tbs unsalted butter
- 1 teas vanilla
- 1 3.5 oz bar bittersweet chocolate, chopped into small pieces
For the Mousse:
- 1/2 cup unsalted butter
- 1 tbs espresso powder
- 4 eggs, seperated
- 1/2 cup heavy cream
- 1/2 cup half and half
- 2 tbs vanilla
- 1/2 cup sugar
- 10 oz bittersweet chocolate, chopped into small pieces
- 1 squirt lemon juice
- salt
For the Whipped Topping:
- 1 cup heavy cream
- 4 oz bittersweet chocolate, chopped into small pieces
Preparation:
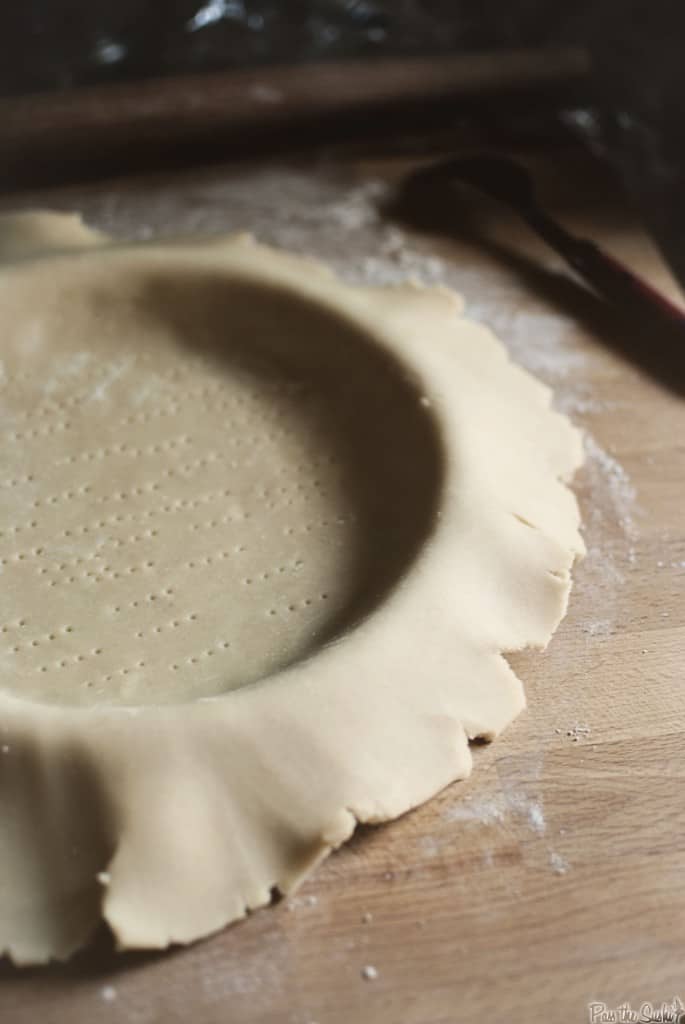
Preheat the oven to 350 degrees F. Roll our the tart dough to fit a 9″ pie plate. Lay the dough into the pie plate, pressing down gently with you fingers. Dock the dough and freeze for 20 minutes.
Lay parchment paper over the dough and fill the dough with pie weights or dried beans. Bake in preheated oven 15 minutes. Carefully remove the pie weights and parchment paper and continue to bake for 10 minutes longer, or until bottom has turned light golden brown and is cooked through. Cool completely.
When the crust has cooled, prepare the ganache. Heat the cream, butter, and vanilla in a heavy saucepan over low heat until the butter has just melted. Increase the heat to medium-high and bring to a quick boil. Remove from heat and add the chopped chocolate. Let sit for 5 minutes for the chocolate to melt. Whisk until the chocolate is smooth, has combined with the cream, and is shiny. Cool for a few (5 – 10)minutes.
Pour the ganache into the prepared pie crust, and using the back of a spoon, spread evenly over the whole crust and up the sides to coat completely. Refrigerate 15 minutes.
For the Mousse: Meanwhile, set up a double boiler with a large metal bowl over a saucepan of simmering water. Melt the butter in the pan and mix in the espresso powder as it melts.
In a large bowl, combine the egg yolks, cream, half and half, vanilla, and 1/4 cup of the sugar. Whisk to combine. Pour the yolk mixture slowly into the butter mixture, whisking constantly. Continue to cook until mixture thickens (there is not a time listed, or a level of thickness. I cooked mine for approximately 18 minutes until it coated the back of a spoon with a thick layer).
Remove from heat and add the chocolate pieces. Let sit for 5 minutes without mixing to allow the chocolate to melt. Whisk until the mixture is completely smooth and combined. Set aside to cool for a few minutes.
When the ganache has set, pour half of the mousse filling into the pie crust. (This filled the crust for me, which is fine. The next step is the whipped topping – so, pile it on!)
For the Whipped Topping: In the bowl of your mixer, fitted with the whisk attachment, add the cream. Beat on high until stiff peaks form. Gently fold the whipped cream into the remaining mousse until no white streaks remain. Pour the lightened mousse on top of the already chilled layer and spread to cover from edge to edge. Chill for at least 2 hours to set.
When ready to serve, melt the remaining 4 oz chocolate and drizzle over the pie.
[/print_this]
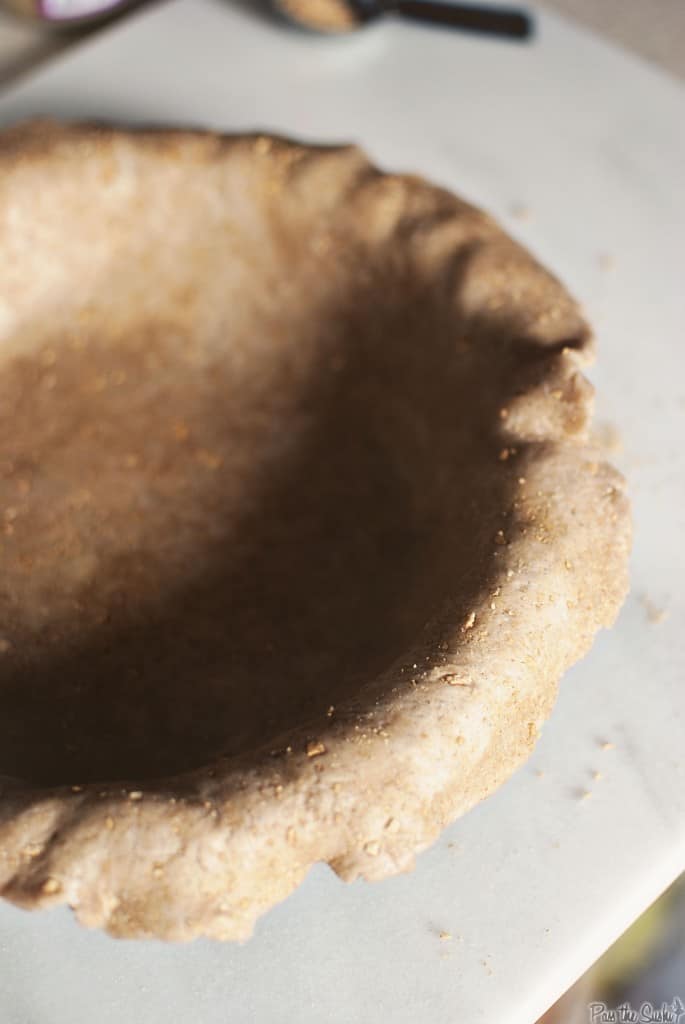
To create the look of the pie edge, I simply pressed a spoon into the dough about 1/2″ in then came back around about 1/4″ in. Easy as pie… 😉
[print_this]
Simple Tart Dough
Ingredients:
- 4 cups flour
- 2 cups (4 sticks) unsalted butter, diced into small cubes and cold
- 1 teas salt
- 1/3 cup sweetened condensed milk
- 1 egg, at room temperature, lightly beaten
Preparation:
Pulse the flour, butter, and salt in the bowl of your food processor until it looks like coarse crumbs. About 10 1 second pulses.
In your measuring cup or small bowl, whisk together the condensed milk and egg. With the food processor running, slowly pour the condensed milk mixture in. Pulse until the dough just comes together.
Pour the dough onto a lightly floured work surface and knead a few times until it forms a smooth ball. Shape it into a disk, wrap it in plastic wrap and refrigerate for at least 20 minutes before using.
[/print_this]


This has my husband’s name written all over it. Hmm maybe I’ll make it for our anniversary this summer. 😀
I am craving pie so bad right now…
This is the kind of challenge I keep meaning to take on, pastry in general is something I’ve always wanted to get into the habit of but never actually do. These pies have all looked amazing and given me loads of inspiration to finally do it myself!
I love pie. You have definitely mastered the crust! They’re all gorgeous. My favorites are the traditional shortening and the vodka ones, though the vodka feels a little like a cheat.
I may need to challenge myself and try this pie! It looks so rich and decadent!
I love the way you decorated the crust with the spoon, I would have never thought of that! Your pies look beautiful and I’m looking forward to trying both this chocolate mousse pie and the quick puff pastry recipe, with the cheddar apple pie. 🙂
I love making pies, but I know they NEVER turn out as good as this one… guess I’ll just stick to being a chef, and not a baker =)
Mousse pie!? Oh my lord!!
Looks divine – but I’m confused by the directions- do the egg whites get used in the mousse layer or not?
Triple layer? Chocolate Mousse? Flakey Pie Crust? Dang girl, count me in!
I think I need a spring of pies. I only have 3 recipes on my blog. I might have to steal this recipe and make this myself. The contractors were requesting a chocolate pie when I told him about ‘the spring of pies’
This recipe looks great, but is missing some key info. What happens with the remaining 1/4 c sugar, lemon juice, salt, and egg whites? Turns out that the mousse (if made as instructed) doesn’t come out very mousse-like…
Congratulations on conquering pie crusts. I LOVE the last one you made. The idea of marking the edges with a spoon is brilliant!