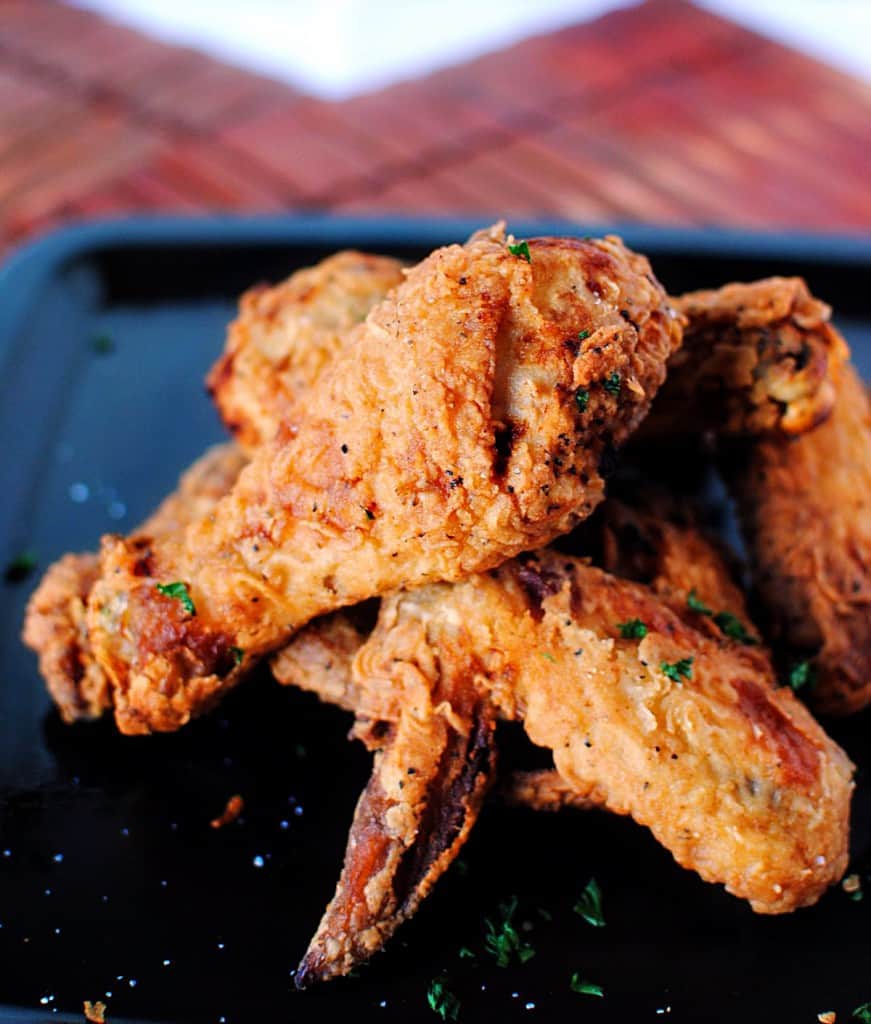
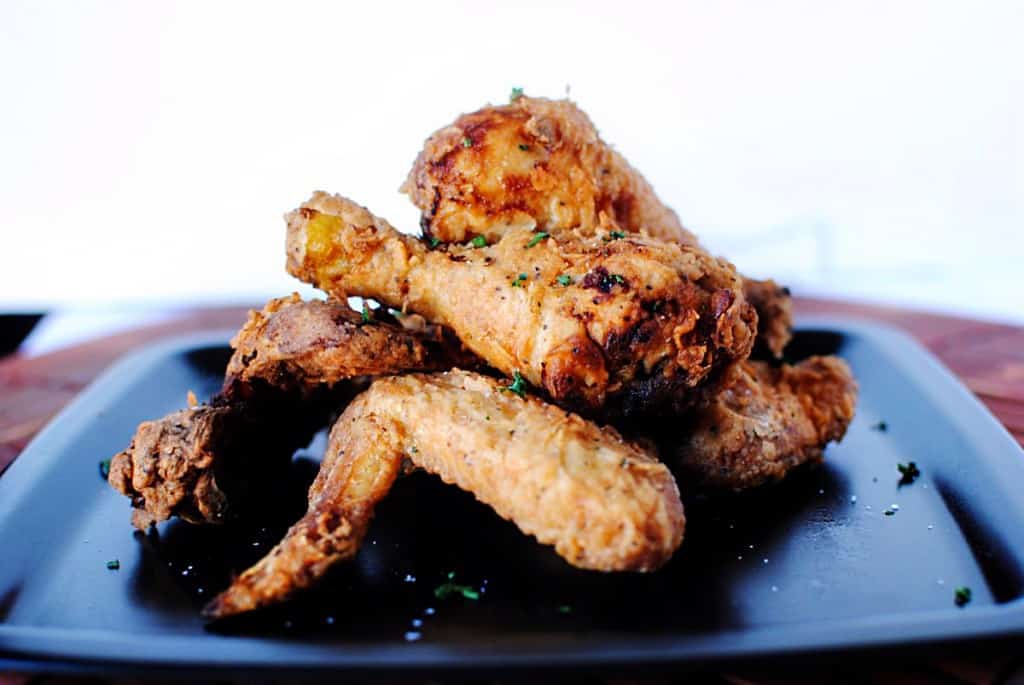
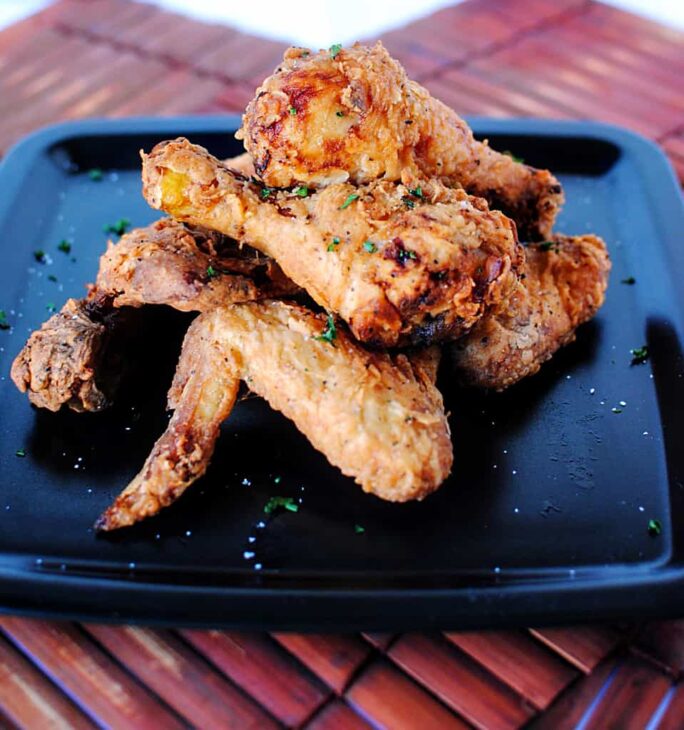
Thomas Keller’s buttermilk Fried Chicken is the best fried chicken you will ever eat! The recipe comes from his book, “Ad Hoc at Home,” and we’re going to show you how to make it.
Looking for the best fried chicken recipe?
You’ve come to the right place! This crispy fried chicken recipe is the best way to get crispy chicken on the outside and juicy meat on the inside.
Breaded chicken is our love language. Whether we’re making our crispy baked chicken tenders or corn-chip chicken salad, there’s something about breaded chicken that screams nostalgia. This recipe is Thomas Keller’s fried chicken, aka the only fried chicken recipe you’ll ever need.
What Is Fried Chicken?
The very first recipe for crispy fried chicken showed up in Hannah Glasse’s “The Art of Cookery Made Plain and Easy” in 1747. The recipe said to fry seasoned and floured chicken in lard.
But soon, Americans began getting creative and invented their own versions of crispy fried chicken. Down in the Southern US, fried chicken became a favorite dish for communal meals after church. When the pastor visited someone’s house for dinner, they got served the best pieces of the bird, usually the breasts.
Many fast-food innovators took Americans’ love for fried chicken seriously. They put their heads together to figure out how to cook a massive amount of fried chicken quickly and keep it crunchy and juicy for customers.
That’s how Kentucky Fried Chicken, the Chicken Shack, Popeyes, and Chick-fil-A came to be. They truly turned American-style chicken into an international sensation!
As for Thomas Keller’s Fried Chicken, that’s a little more recent. And if you don’t know who Thomas Keller is, let’s just say he’s one of the top 17 chefs in the world. So, yeah, this recipe is legit.
Why you’ll love this recipe
This recipe breeds the crispiest chicken that will put KFC to shame. With a flavorful lemon brine, dreamy buttermilk coating, and a variety of spices, this is Southern fried chicken like you’ve never tasted before.

Ingredients
Chicken Brine
- Lemons: Adds a citrusy flavor to the brine, enhancing the taste of the chicken.
- Bay leaves: Infuse a subtle herbal essence into the brine, contributing to the overall flavor.
- Flat-leaf parsley: Provides a fresh and mild herbal note to the brine.
- Thyme: Adds a savory and earthy flavor to complement the chicken.
- Clover honey: Sweetens the brine, balancing the savory and herbal elements.
- Garlic head: Infuses the brine with a rich and savory garlic taste.
- Black peppercorns: Introduces a peppery kick, enhancing the brine’s overall seasoning.
- Diamond Crystal kosher salt: Seasoning agent that helps brine the chicken and enhance its natural flavors.
- Water: Serves as the base for the brine, ensuring the chicken is thoroughly seasoned and moist.
For the Fried Chicken
- Whole chickens: We chose whole chickens for this recipe as everyone can get a little piece of what they want (dark meat, light meat, etc.)
- Chicken Brine: Prepares and flavors the chicken before frying, producing a juicy and well-seasoned bird.
For Dredging and Frying
- Peanut, canola oil, or vegetable oil for deep frying: These oils have a high smoke point, making them perfect for frying the chicken and giving it a crispy crust.
- Buttermilk: Tenderizes the chicken and acts helps the coating stick to the chicken.
- Kosher salt and freshly ground black pepper
Coating
- All-purpose flour: Forms the crispy outer layer during frying.
- Garlic powder: Infuses a savory garlic flavor into the coating.
- Onion powder: Adds a mild and sweet onion flavor to the coating.
- Paprika: Introduces a smoky and slightly sweet note to the coating.
- Cayenne pepper: Provides a hint of heat and depth to the coating.
- Kosher salt: Seasoning for the coating to enhance the overall taste.
- Freshly ground black pepper: Adds a peppery kick to the coating.
- Ground fleur de sel or fine sea salt: Used for seasoning after frying, enhancing the overall taste.
- Rosemary and thyme springs: Optional herbs for garnish.
How to Make Fried Chicken
Brine the Chicken
First, cut each chicken into 10 pieces: 2 legs, 2 thighs, 4 breast quarters, and 2 wings.
Next, mix the brine in a container large enough to hold the chicken pieces. Add in the chicken and refrigerate for 12 hours (no longer, or the chicken may become too salty).
After that, remove the chicken from the brine, discard the brine, and rinse under cold water to remove any herbs or spices sticking to the skin. Pat dry with paper towels or let it air dry.
Now, let the chicken rest at room temperature for 1 ½ hours or until it comes to room temperature.
Prep the Oil
If you have two large pots (about 6 inches deep) and a lot of oil, you can cook the dark and white meat at the same time. If not, cook the dark meat first, then turn up the heat and cook the white meat. No matter the pot size, the oil should not come more than one-third of the way up the sides of the pot. Fill the pot with at least 2 inches of peanut oil and heat to 320 degrees F.
Set a cooling rack over a baking sheet and line a second baking sheet with parchment paper.
Make the Coating
Meanwhile, combine all the coating ingredients in a large bowl and transfer half the coating to a second large bowl.
Now, pour the buttermilk into a third bowl and season with salt and pepper. Set up a dipping station with the chicken pieces, one bowl of coating, the bowl of buttermilk, the second bowl of coating, and the parchment-lined baking sheet.
Prep and Cook the Chicken
Just before frying, dip the chicken thighs into the first bowl of coating, then into the buttermilk, and finally into the second bowl of coating. Transfer to the parchment-lined pan.
Carefully lower the thighs into the hot oil. Fry for 2 minutes, then move the chicken pieces around and continue to fry for 11 to 12 minutes until the chicken is deep golden brown, cooked through, and very crisp.
Meanwhile, coat the chicken drumsticks and transfer them to the parchment-lined baking sheet. Transfer the cooked thighs to the cooling rack skin-side-up.
Make sure the oil temperature is correct, and cook the chicken drumsticks. When done, lean them meat-side-up against the thighs and sprinkle the chicken with fine sea salt.
Turn up the heat, heat the oil to 340 degrees F, and coat the chicken breasts and wings. Carefully lower the chicken breasts into the hot oil and fry them for 7 minutes until golden brown, cooked through, and crisp. Transfer to the rack, sprinkle with salt, and turn skin side up. Cook the wings for 6 minutes or until golden brown and cooked through. Transfer the wings to the rack and turn off the heat.
Serve
Finally, arrange the chicken on a serving platter. Add the herb sprigs to the hot oil, let them cook and crisp for a few seconds, then arrange them over the chicken.

Expert Recipe Tips
- We let the chicken rest for 7 to 10 minutes after it comes out of the fryer so that it has a chance to cook down. If the chicken has rested longer than 10 minutes, put the tray of chicken in a 400F oven for a minute or two to ensure that the crust is crisp and the chicken is hot.
- Use an instant-read thermometer to ensure the internal temperature of the chicken reaches at least 165F before consuming.
- Use a deep-fryer thermometer or a candy thermometer to check the temperature of the oil.
How to Store Leftovers & Reheat
Store leftover fried chicken in an airtight container in the fridge for 3-4 days. You can also freeze it for up to 3 months.
Before reheating, make sure you let it come to room temperature so it heats up evenly.
To reheat, you have a couple of options:
Oven Method:
- Preheat your oven to 400F and place your chicken on a wire rack.
- Bake for 12-15 minutes.
Air Fryer Method:
- Heat the air fryer to 375F and place your chicken in the basket.
- Reheat for at least 4 minutes, flipping halfway through.
What to serve with fried chicken
This homemade fried chicken deserves some classic sides to make it a complete meal. Since this is a Southern dish, we recommend pairing your chicken with some collard greens, potato salad, and even a glass of ice cold sweet tea. You could also serve this chicken up with some classic French fries if you like.
Recipe FAQs
Nope! A large cast iron skillet or Dutch oven will do just fine!
We highly recommend it as brining adds a TON of flavor and moisture to the chicken.
We recommend using two small 6-pound chickens for this recipe.
We recommend ranch dressing, hot sauce, or honey mustard!
More Chicken recipes
This classic fried chicken recipe is the perfect blend of history and modern times. The crispy skin and juicy meat make for a meal that will have you licking your fingers all night long. If you try this recipe, please rate the recipe card and leave a comment down below to help out the next reader!

Thomas Keller’s Buttermilk Fried Chicken
Equipment
Ingredients
Chicken Brine:
- 5 lemons - halved
- 12 bay leaves
- 1 bunch - 4 ounces flat-leaf parsley
- 1 bunch - 1 ounce thyme
- 1/2 cup clover honey
- 1 head garlic - halved through the equator
- 1/4 cup black peppercorns
- 2 cups 10 ounces Diamond Crystal kosher salt
- 2 gallons water
For the Fried Chicken:
- 6 lbs whole chickens - use 2 small chickens
- Chicken Brine
For Dredging and Frying:
- Peanut or canola oil for deep frying
- 1 quart buttermilk
- Kosher salt and freshly ground black pepper
Coating:
- 6 cups all-purpose flour
- 1/4 cup garlic powder
- 1/4 cup onion powder
- 1 tbsp plus 1 teas paprika
- 1 tbsp plus 1 teas cayenne
- 1 tbsp plus 1 teas kosher salt
- 1 tsp freshly ground black pepper
- Ground fleur de sel or fine sea salt
- Rosemary and thyme springs for garnish
Instructions
- Cut each chicken into 10 pieces: 2 legs, 2 thighs, 4 breast quarters, and 2 wings.
- Mix the brine in a container large enough to hold the chicken pieces, add in the chicken, and refrigerate for 12 hours (no longer, or the chicken may become too salty).
- Remove the chicken from the brine (discard the brine) and rinse under cold water, removing any herbs or spices sticking to the skin.
- Pat dry with paper towels, or let air-dry.
- Let rest at room temperature for 1 1/2 hours, or until it comes to room temperature.
- If you have two large pots (about 6 inches deep) and a lot of oil, you can cook the dark and white meat at the same time; if not, cook the dark meat first, then turn up the heat an cook the white meat. No matter what size pot you have, the oil should not come more than one-third of the way up the sides of the pot. Fill the pot with at least 2 inches of peanut oil and heat to 320 degrees F.
- Set a cooling rack over a baking sheet. Line a second baking sheet with parchment paper.
- Meanwhile, combine all the coating ingredients in a large bowl.
- Transfer half the coating to a second large bowl.
- Pour the buttermilk into a third bowl and season with salt and pepper.
- Set up a dipping station; the chicken pieces, one bowl of coating, the bowl of buttermilk, the second bowl of coating, and the parchment-lined baking sheet.
- Just before frying, dip the chicken thighs into the first bowl of coating, turning to coat and patting off the excess; dip them into the buttermilk, allowing the excess to run back into the bowl; then dip them into the second bowl of coating.
- Transfer to the parchment-lined pan.
- Carefully lower the thighs into the hot oil. Adjust the heat as necessary to return the oil to the proper temperature.
- Fry for 2 minutes, then carefully move the chicken pieces around in the oil and continue to fry, monitoring the oil temperature and turning the pieces as necessary for even cooking, for 11 to 12 minutes, until the chicken is a deep golden brown, cooked through and very crisp.
- Meanwhile, coat the chicken drumsticks and transfer to the parchment-lined baking sheet.
- Transfer the cooked thighs to the cooling rack skin-side-up and let rest while you fry the remaining chicken. (Putting the pieces skin-side-up will allow excess fat to drain, whereas leaving them skin-side-down could trap some of the fat.)
- Make sure that the oil is at the correct temperature, and cook the chicken drumsticks.
- When the drumsticks are done, lean them meat-side-up against the thighs to drain, then sprinkle the chicken with fine sea salt.
- Turn up the heat and heat the oil to 340 degrees F.
- Meanwhile, coat the chicken breasts and wings.
- Carefully lower the chicken breasts into the hot oil and fry for 7 minutes, or until golden brown, cooked through, and crisp.
- Transfer to the rack, sprinkle with salt, and turn skin side up.
- Cook the wings for 6 minutes, or until golden brown and cooked through. Transfer the wings to the rack and turn off the heat.
- Arrange the chicken on a serving platter. Add the herb springs to the oil (which will still be hot) and let them cook and crisp for a few seconds, then arrange them over the chicken.
Notes
Nutrition
Nutritional informations provided as a courtesy and is only an approximatation. Values will changes based on ingredients used.
⭐ Tried this recipe? Rate it ⭐
Help out the next person and give it a star rating below!

WOW! This fried chicken looks so delicious. I must try this next time with buttermilk. Thanks for sharing 🙂
I am not that into fried chicken but this looks good! If I made fried chicken for my husband, he’d find it sexy lol.
Oh my goodness that is SO gorgeous! That is some pretty looking chicken. YUM! I just want to reach into my screen and take a bite…buttermilk fried chicken is THE best
Lord woman could you make chicken look any better! Wow… that first photo looks like I can just pick it off the screen!
I love this post!! So true…the cooks need to be kissed more!! Especially if this is being served!
OMG Gorgeous! I love it that the chicken is brined. Great job, gorgeous photos!
Ahhh…. I have made TK’s fried chicken and it is THE BEST I have ever had. Hands down. Worth every single minute of the work it requires, and here is a little secret: although I do all the work to make the breading, you can also buy a pre-packed set from Williams-Sonoma that has everything you need to make the chicken! (minus chicken of course, lol)
Love that coating and those photos speak of some mighty fine fried chicken. So, did you get a kiss after that meal?
Looks like you did a great job with Keller’s fried chicken! I haven’t tried making it yet; maybe I should.
Hi Kita:)My mom made some spicy wings for us for dinner tonight. Now I’m hungry again looking at your gorgeous fried chicken! Yum!
Love how yummy it looks 🙂
I second the vote to kiss the cook! Cooking is absolutely fun, but it can still be time consuming and a bit of a pain at times, so getting a little recognition or appreciation is great. Beautiful looking chicken – *I* think it’s sexy. ^_^
gorgeous chicken!
Quick question: 1/2 of what for clover honey? 1/2 Cup?
Cup, sorry about that!