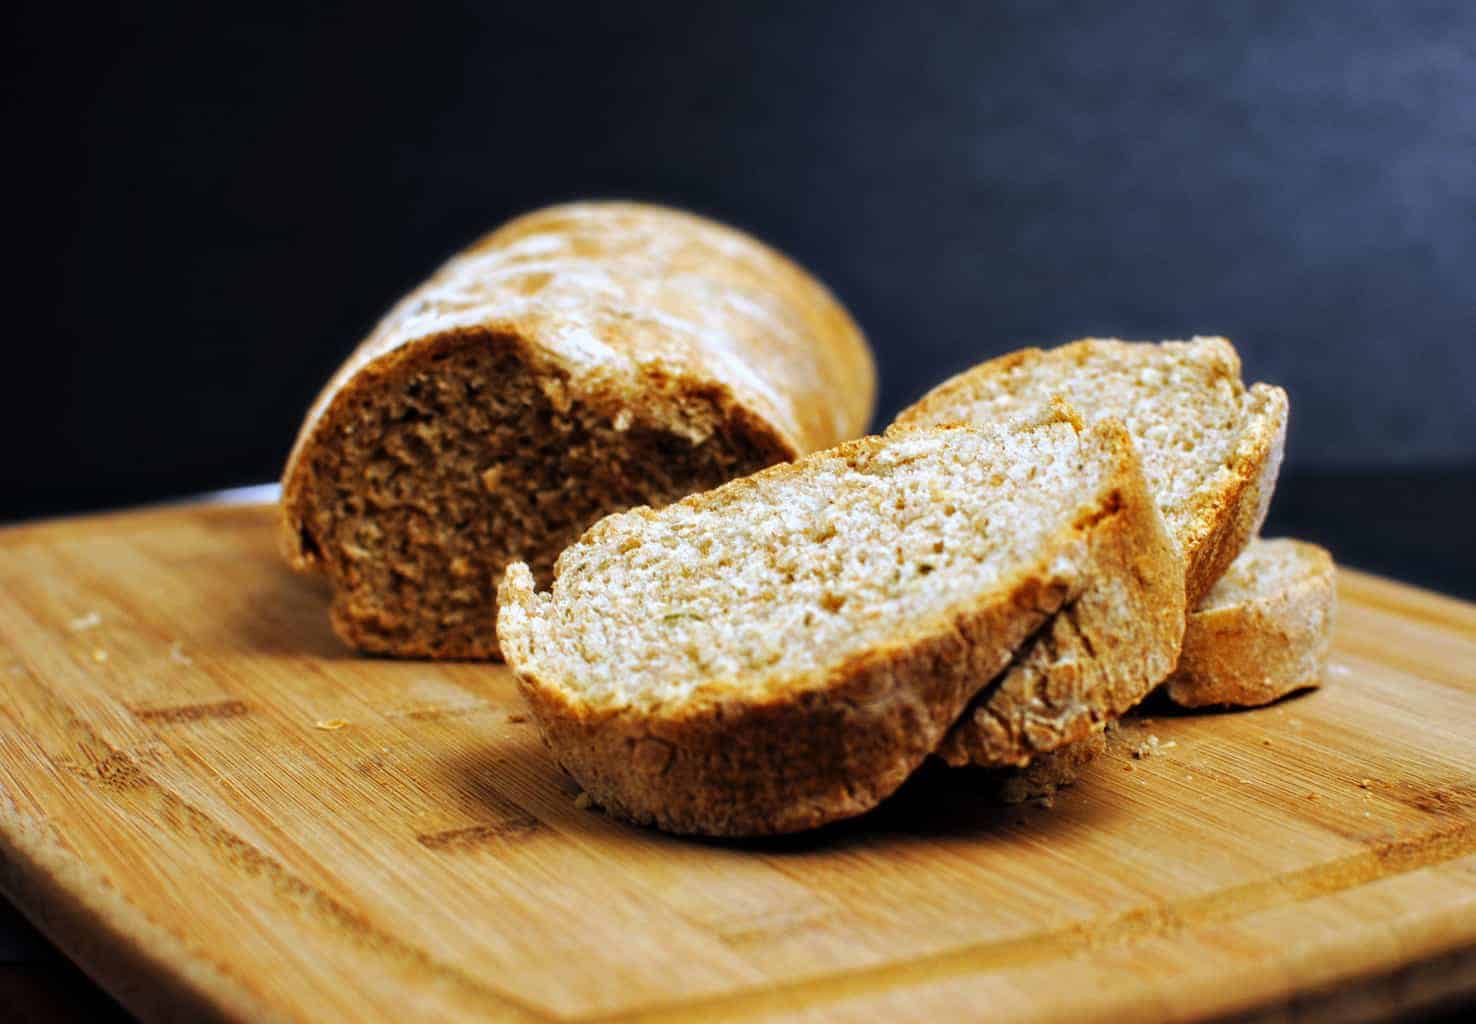
Rosemary garlic bread is a rustic, fragrant, delicious yeast bread that goes great with any comfort food meal.
I have been a lackadaisical food blogger this week. NyQuil will do that do a girl. I haven’t been actively commenting on anyone’s blog or anything, but I promise, if we’re buddies on FoodBuzz, I’ve been buzzing like crazy. I’ll be back up to 100% soon, I promise.
As part of my battle to beat my fear of yeast this year, I made this bread to go with yesterday’s soup post. Its a hearty dense bread that would be great for sandwiches but holds up beautifully to just being toasted and smeared with butter.

[print_this]
Rustic Rosemary Garlic Bread
adapted from Rustic White Bread, seen on Good Life Eats
Ingredients:
- 2 cups warm tap water, about 110 degrees
- 1/4 cup olive oil
- 2 1/2 teaspoons (1 envelope) active dry yeast
- 2 3/4 – 3 cups all-purpose flour
- 2 1/2 cups whole wheat flour
- 6 cloves garlic, minced
- 1/3 cup fresh rosemary, chopped
- 4 teaspoons salt
- 1/4 cup flour for dusting the loaves
- Cornmeal for the pans
- 2 small cookie sheets or a large (at least 11×17-inch) jelly roll pan
Directions:
To make the dough, in a small bowl or 2 cup measuring cup place water and sprinkle yeast on surface, allowing it to stand for three minutes before whisking. After dissolved, whisk in the olive oil. To mix dough in a full-sized food processor, place 2 3/4 cup all-purpose flour and 2 1/2 cups whole wheat flour, garlic, rosemary, and salt in bowl of the food processor fitted with a dough blade.
Add water, oil, and yeast mixture and process to form a smooth, elastic and slightly sticky dough, about 45 seconds. Incorporate the remaining 1/4 cup all-purpose flour a tablespoon at time if the dough is too soft.
Place dough in an oiled bowl and turn dough over so top is oiled. Cover bowl with plastic wrap and allow dough to rise at room temperature until doubled.
To shape loaves, scrape risen dough onto a lightly floured surface and press it to deflate it. Divide dough in half and shape one piece at a time. Press dough into a square, then roll it up tightly. Rotate cylinder of dough 90 degrees and roll up again from short end. Arrange dough seam side down, cover with plastic or a towel and let it rest of 5 minutes. Repeat with remaining piece of dough.
Dust pan with cornmeal. Roll each piece of dough under palms of your hands to elongate it. Work from middle of loaf outward, pointing the ends slightly. Place loaves seam side down on cookie sheets and dust each loaf heavily with flour, using about 1/4 cup in all. Cover with plastic or a towel and allow to rise until doubled.
About 30 minutes before you intend to bake the loaves, preheat oven to 500 degrees F and set racks at the middle and lowest levels. Set a pan on the lowest rack to absorb some of the excess bottom heat and keep the bottom of the loaves from burning.
Holding a razor blade or the point of a very sharp knife at a 30-degree angle to the top of each loaf, make 3 to 4 diagonal slashes in each loaf. Immediately place loaves in oven and lower temperature 450 degrees F. After loaves have baked for 20 minutes and are completely risen, lower temperature to 350 degrees F and continue baking about 20 to 30 minutes longer, until bread reaches an internal temperature of about 210-220 degrees F. Remove loaves from oven and cool on a rack.
[/print_this]
What I did differently with the rosemary garlic bread recipe:
- I made the dough in my stand mixer, not a food processor. Either way, it turns out great.
- I used my baking stone instead of the jellyroll pans. I know, I’m wild and dangerous.

I hope you enjoy this rosemary garlic bread. 🙂
Looks awesome! I love Good Life Eats recipes! 🙂 Title anything with “rustic” and you’ve got me!
That is a yummy loaf! I’d eat it with a side of cheese and prosciutto! 🙂
Gorgeous! Butter this, indeed…pass it over and I will!
I love the work rustic, and your bread is the perfect rustic loaf!
It looks so very very good, I can imagine slathering on good european butter…sigh….dipping it into my hot soup…….sigh
Feel better my friend!
Dennis
Great looking bread, and an excellent choice to use your baking stone. That baking stone made for a much crunchier crust. Now, just churn some butter, and I’m in heaven!
Nyquil is no joke! 😀 This bread looks great! No more yeast-fearing! 😀 You’ve conquered it!!!
I could find so many things I’d want to dunk this in!!
Hope you’re feeling better Kita! Your bread looks amazing!
delicious looks yummy
crust looks delicious
I love the look and the sound of this bread. I see it on my kitchen table, still warm with melted herb butter on top, oh my, I’m so hungry.
Thanks for sharing,
best wishes,
Roxana
I love finding ways to use my little Rosemary plant, and adding it to bread is wonderful! So tasty:)
Hope you feel better 🙂
Your bread looks great… Crusty on the outside, soft on the inside.
Hope you feel better very soon. I am loving your rustic bread, rosemary and garlic are heavenly! This sounds like a great recipe that I will be trying soon. Thanks for sharing.
How can it go wrong with a rustic bread with rosemaru amd garlic? This recipe goes straight into my “to do recipe” folder! Thanks.
I’m on a bread baking kick and this one looks fabulous! I love the additions of garlic and rosemary…plus the whole wheat flour gives such a nice bite! Delish!!!
This bread was outstanding!!! Thanks so much for sharing this. Our “tweak” was to add a tablespoon of nutritional yeast which added a buttery cheesy taste to it. Delish!
Im glad you tried it. I love the idea of adding a cheesy taste to it. Thank you for coming back and letting me know what you that you tried it.