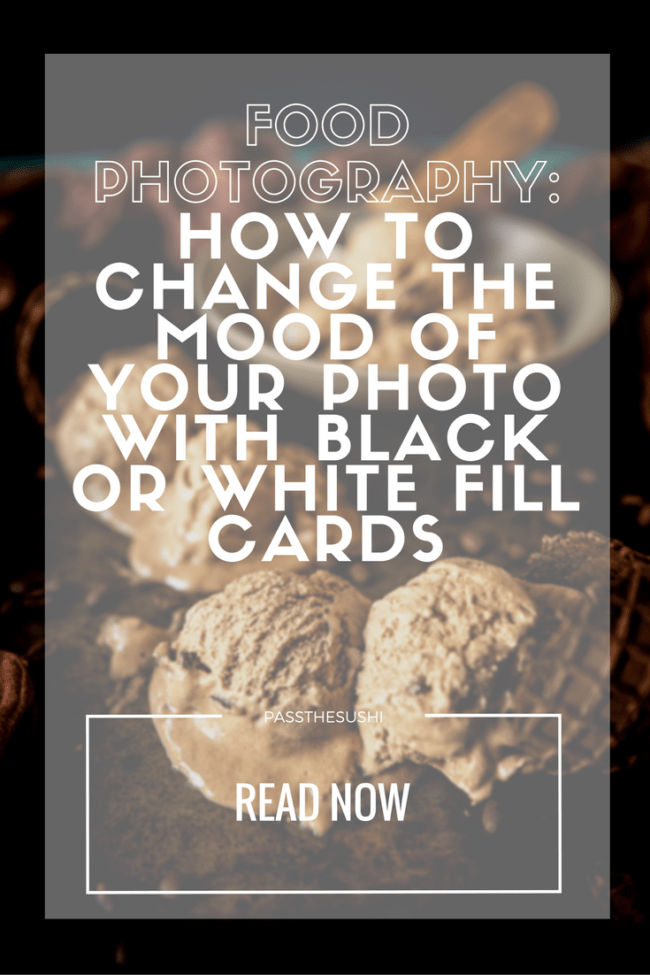
Ever wondered how to create dark and moody food photos? This quick and easy tutorial shows you how to change the mood of your photo with fill cards. All you need is a foam core and a window!
There seems to be to two types of food photography, dark and moody and bright and light. Each has its appeal and when I look at food photos, I am drawn to both. The lighting in our photos helps us create the scene for the viewer. It builds the feeling from airy and open to cozy and comforting.
Personally, I love shooting darker photos and playing with light. I just find it more appealing for my style of food photo, and the feeling I try to convey in my food stories. This can be easily achieved using what is called negative fill, or rather, replacing a bright surface to bounce light back into your image, with a dark one.
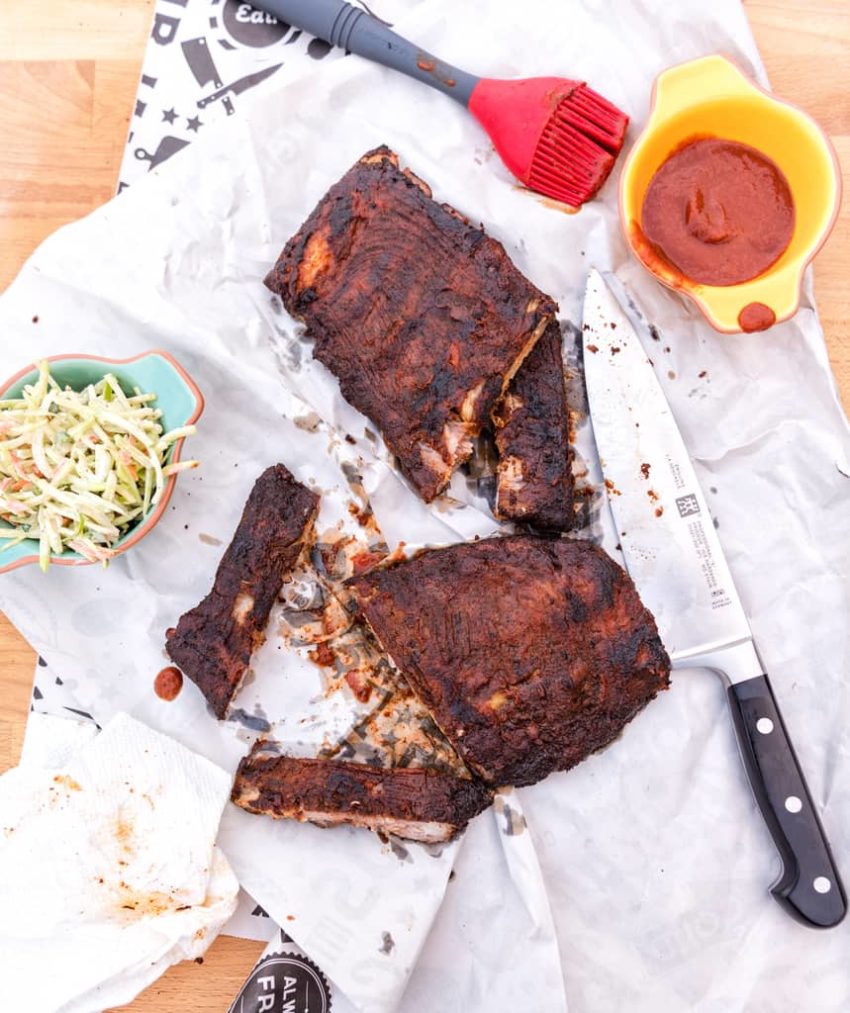

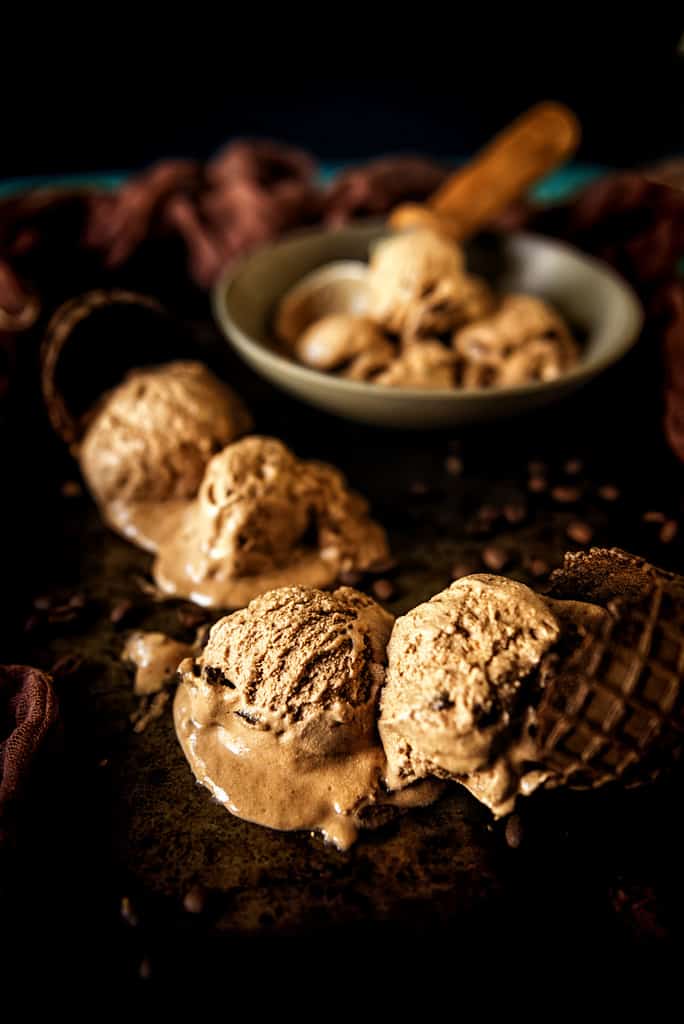
If you have been following along on my Instagram stories, I have been sharing some behind the scenes for my food set-ups and with the feedback received, decided to start adding a little more here about them. For today’s set up, I am going to chat about how I created the look for the Spiked & Spicy Mexican Mocha Ice Cream. I wanted the look of melting ice cream; one to show it’s ice cream and we all love a scoop or two when it’s hot, but two to show the heat from the spice in the recipe. Then, I knew I wanted to showcase the ice cream in a more mature way. It isn’t a kid friendly ice cream, with mocha, tequila, and cayenne, so I wanted the images to reflect a moodier look. One that wasn’t bright or poppy, but rather aged and defined.
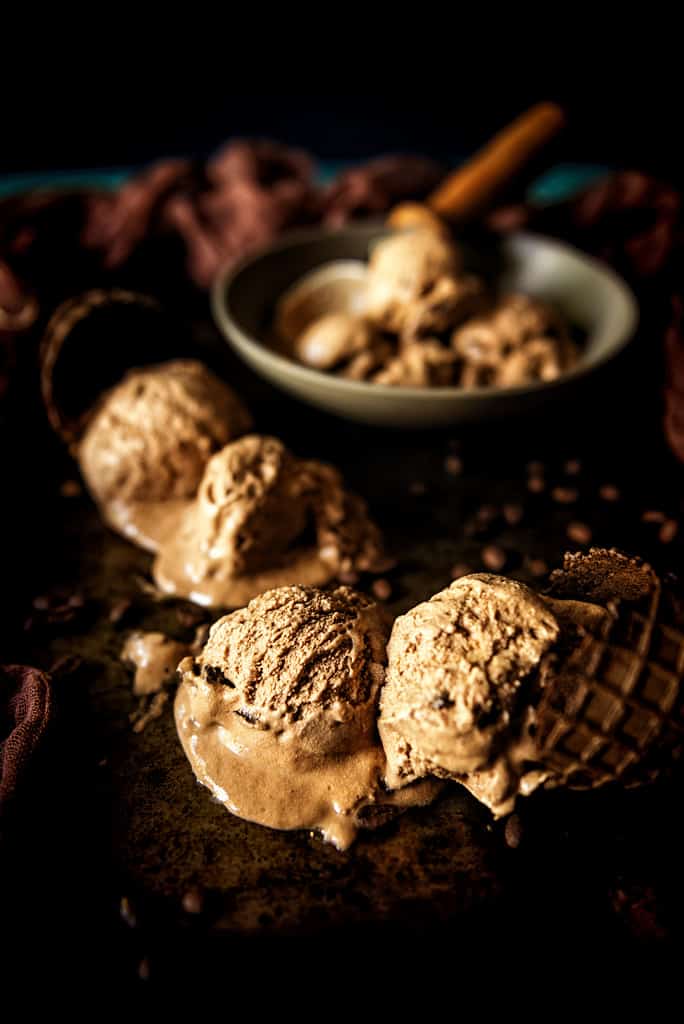
I set my scene on my dining room table with a large sliding glass door letting in a lot of light to the left. The camera was parallel to the light source with the shadows falling on the right side of the ice cream. I always place my foam core to the opposite of my light – in this case, to the right of the ice cream- to manipulate how the light falls back into the image.
I shot a few images with a white foam core to lighten the shadows and fill in the negative space, but still wanting something more dramatic, I opted to use a black fill card instead. I switched to black foam core to darken the negative space where the light wasn’t hitting and create a rich depth to the contrast.
White Foam Core
Black Foam Core
How to Change the Mood of Your Photo with Black or White Fill Cards
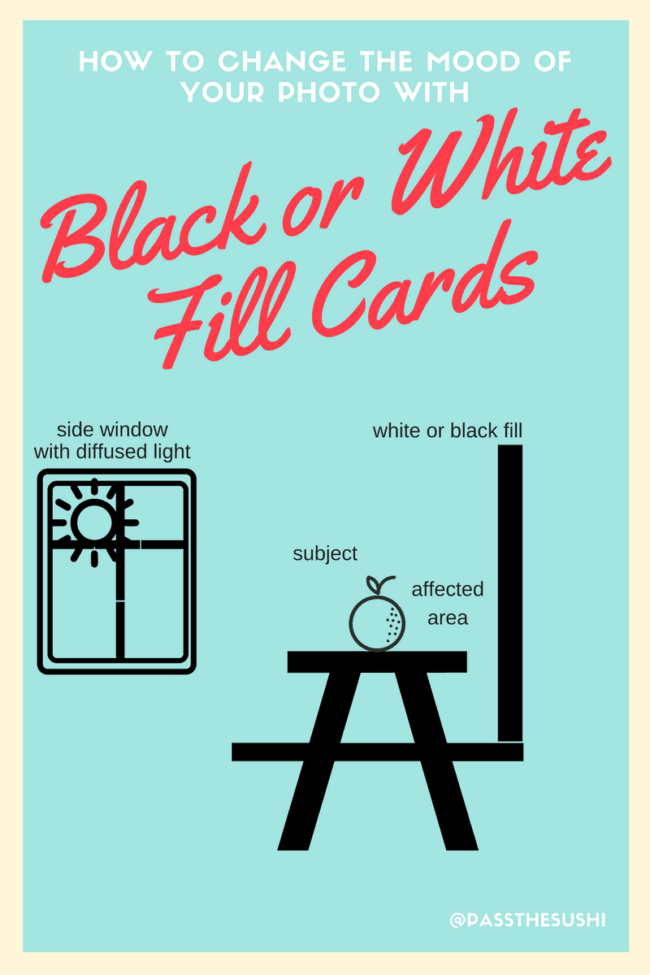
- Set up your work area with your light to one side of your food and the camera parallel to your light source.
- Pop up white foam core to the opposite side of your light source and take a few photos. The white foam core will bounce light back, softening shadows and highlighting darker areas.
- Change the white board for a black piece of foam core and watch as the black absorbs light, creating darker shadows and richer depth.

In the image below, you can see the white foam core vs the black fill side by side. What looks like a slight change really changes the depth of the overall image.
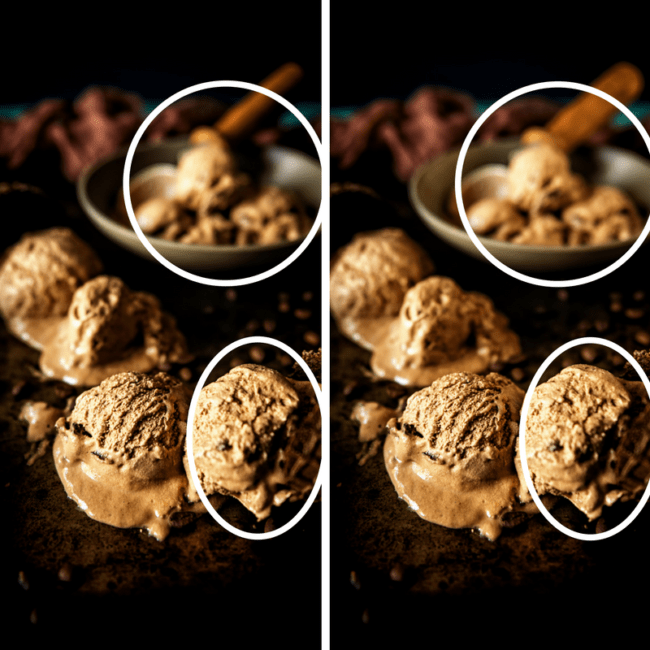
See those changes? It was amazing what little effort it took to really define the look I wanted in this photo!
Photography Challenge! Experiment with black and white fill cards opposite your light source and see how they play to affect the mood and style of our image. Tag me in your image and let me know how you like the results!
If you’ve tried tricks for creating dark and moody food photography let me know how it went in the comments below, I love hearing from you! You can also follow along for more photography, good eats, and travel tips on Instagram @passthesushi & @girlcarnivore, Twitter & Facebook.

Super EZ and perfect tips, Kita girl!! I’m trying this, luv! xoxo THANK YOU!!
Great tips, Girl!